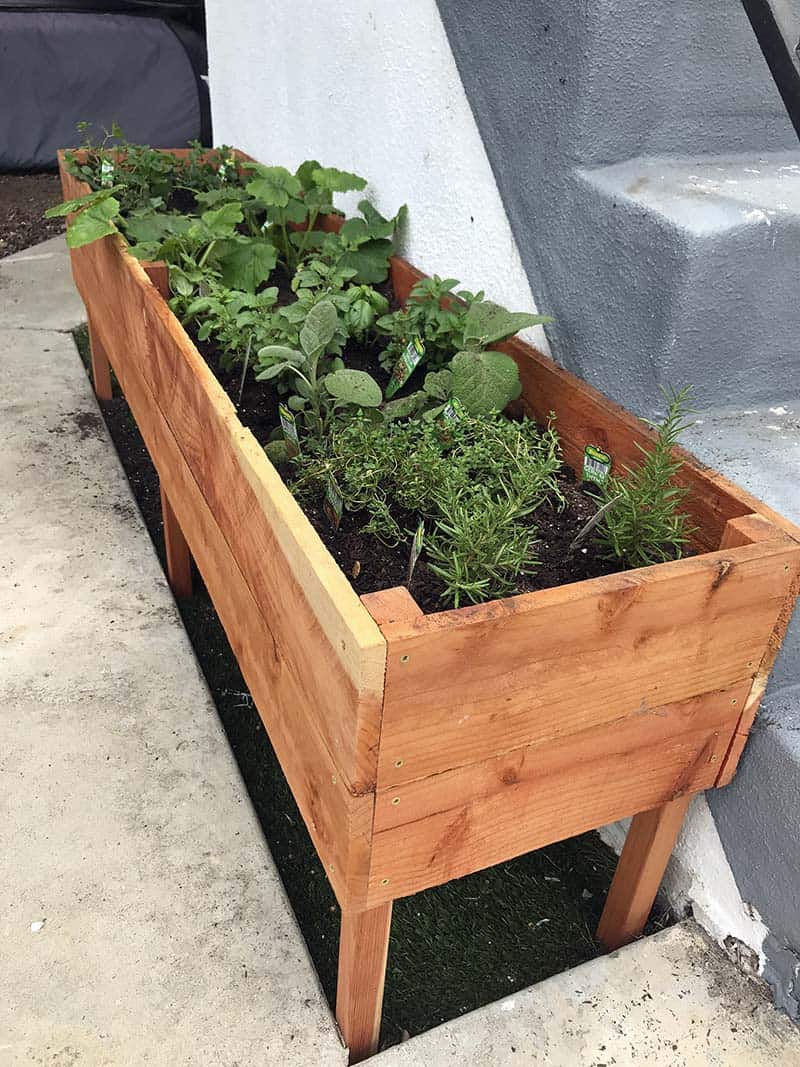
How to build a planter box with legs for elevated gardening


Elevated gardening offers numerous benefits, from improved drainage to easier access. Building your own planter box with legs allows you to personalize your garden and create a stunning focal point. Here's a step-by-step guide to get you started:
1. Gather Your Materials:
Wood: Cedar, redwood, or pressure-treated lumber are excellent choices for durability and weather resistance.
Screws: Choose exterior-grade screws long enough to securely fasten the wood.
Legs: Use 4x4 posts or sturdy wooden legs for support.
Hardware: Corner braces, brackets, and wood glue will add strength and stability.
Landscaping fabric: This helps prevent soil from falling out and keeps weeds at bay.
Staple gun or tacks: To secure the landscaping fabric.
Soil: Choose a high-quality potting mix appropriate for your chosen plants.
2. Construct the Box:
Measure and cut: Determine the desired dimensions of your planter box and cut the wood accordingly.
Assemble the sides: Attach the side panels using screws and wood glue.
Add the bottom: Cut a bottom panel and attach it to the assembled sides.
Secure the corners: Reinforce the corners using corner braces or brackets for added strength.
3. Build the Legs:
Cut the legs: Determine the desired height for your planter box and cut the legs to length.
Attach the legs: Securely attach the legs to the bottom of the planter box using screws or brackets.
4. Prepare for Planting:
Line the box: Staple or tack landscaping fabric to the inside of the planter box.
Add drainage: Create drainage holes in the bottom of the planter box to prevent waterlogging.
5. Planting Time:
Fill with soil: Fill the planter box with your chosen potting mix, leaving a few inches from the top for watering.
Plant your favorites: Carefully transplant your plants into the prepared planter box.
Tips for Success:
Pre-drill holes: Pre-drilling holes in the wood prevents splitting during screwing.
Sand the wood: Sand the wood surfaces for a smooth finish and to prevent splinters.
Weatherproof: Apply a sealant or paint to protect the wood from the elements.
Consider your plants: Choose plants that thrive in the size and sunlight conditions of your planter box.
By following these steps, you can create a beautiful and functional elevated planter box that will enhance your gardening experience. Remember to personalize your design with different wood types, colors, and decorative elements to make it truly unique. Happy gardening!